


Adult male proboscis monkey has a large nose that dangle below the mouth. It's like Squidward. Apparently it's used for producing sound and natural selection prefer the louder one.
 |
| Image credit: https://eol.org/pages/310436 |
It is endemic to Borneo and is critically endangered. Coincidentally a comrade in Origami Dan, Naoki, asked me to join force for raising awareness on endangered species. From now on, my every design with endangered species will have the red stamp with tarsier face.
Design
I still feel uneasy with the seam on my poison dart frog's. For this design I got to put that seam on the back. The idea is to come up with base like this.

The face would need to be color changed. Other than that, making limbs are easy. So the first thing to do is designing the face.
A simple way to make color changed face is to use corner flap. I used Japanese foil for free folding and started with this kite base with left and right part get sunk, and valley fold the top to expose the color changed square.

That reminded me of my frigatebird's air sac. We can swivel it to bring more paper forward and make the details.

Then I did a double swivel fold up, so we can squash the edges and make the color changed face. The corner will be used for nose.


The natural course of action is to squash the nose. That allowed some paper to be pushed sideways and make color changed cheek.

The unnecessary and exposed forehead can be brought inside the layers. I altered the proportion and now we get a reasonably good looking face.

In an attempt to make eyes, I sunk the tip. With some more alterations I finally get a satisfying face.
 |
| Test fold with chocolate wrapping paper. |
Now moving on to the body, I started by adding arms. An easy way is to make a bird base out of it. With some free folding I found a way to fit the face into a corner of a bird base.

Same strategy can be used for the legs and tail.

While there are like 25% of unutilized paper, there is a more serious problem. The rivers separating arms and legs are too wide. That means this monkey will have a long torso.
At some point when I had a dinner, I thought of a way to reduce the torso length. What if I started with blintzed bird base, but a small river is inserted to split the upper and lower body part? Something like this.
 |
| Green denotes the river. |
So it's like adding a winding strip graft. I went to Orihime and started drawing the CP. It was intuitive to fill the grafted part with pleats. I ended up adding fingers to absorb the unutilized paper. The only long middle flap will be used for fat belly. The width of the graft was just chosen arbitrarily.
 |
| Arm's region is shown on thick yellow lines. Green line shows the potential arm length. |
Notice that one of the finger would be stretched towards the bird base. This is to make thumb, just like how Kamiya did it on his minotaur.
I test folded that using foil and it looks good, but not good enough. Here are the issues:
- Neck is too long.
- Arm length is lesser than it's potential length. See that top left bird base? The arm's hinge would be ideal if it can touch the smaller middle flap of the bird base.
- Hinges and ridges don't intersect at regular points. Notice that the folded base has misalignment. This is caused by arbitrary choice of graft width instead of using 22.5 reference.
So I took my test fold and started free folding that is restricted to 22.5 angles. The paper has been creased so many times on random multiple of 22.5 angles so it was easy to snap and find a solution for first two problems. Although the neck still seems to be too long, we need that length for pleating and narrowing the head.

The third problem is solved by forcing the hinges and ridges to intersect at regular points on Orihime. We can align the fish base to the ridge of the middle flap. Once that area is fixed, filling the rest of the CP is deterministic.

Now that the CP is completed, we can calculate what is the reference. Was a bit challenging and I found it to be based on \(8 + 9\sqrt{2}\). You can try finding what's the reference yourself as challenge. The final CP is shown on top of this post.
Fold
Even after numerous test folds for the face and body, I think I still need a test fold to put everything up together. This model has several sinks so I don't feel like using Japanese foil for test fold. So I used 35 cm double tissue.

That exercise helped me to decide what pose that I should use. I settled with the hanging on a branch pose. The right arm and left leg should form a vertical line due to gravity, and the other limbs would balance it. Tail goes to the left (from the monkey's side).
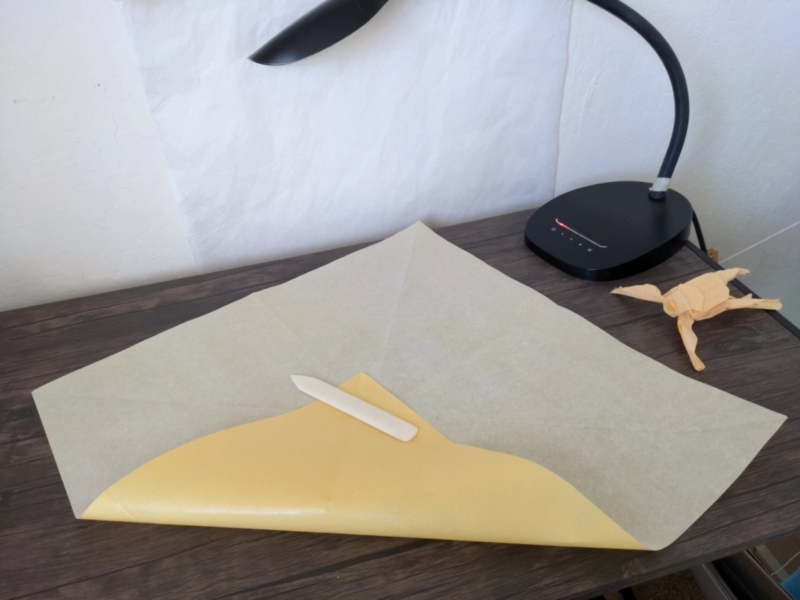
The final fold uses 50 cm double tissue. Parts of the face are quite small so doing that on 35 cm was unnecessarily uncomfortable. Here are some progress pictures.


Maybe one day I will refold this with paper with higher quality. It might look better than this double tissue.
Bu konuda daha önce hiç bu kadar net bilgi görmemiştim.
ReplyDeleteme puedes mandar o decir como hacer el cp o mandar el diagrama en fotos y te dire la verdad siendo sincero , creo que le ganaste a brian chan
ReplyDelete