


 |
| More detailed crease pattern to show where to pleat the neck. |
Markhor is a type of mountain goat found in Central Asia. They have curly horns which can vary from simple twist to a tight corkscrew. The male has long and shaggy mane, similar to lion.
I had an idea to design a markhor after finishing my ibex and folded Kaito Nagayama's chameleon, whose eyes are made by wedged pleats to form spiral. So what if I use the same technique on goat's horn? It worked in theory and my test fold on foil (shown later in this post), but not on the final fold. In the end I just curl the horn.
Design
If you don't know how Kaito Nagayama's chameleon, look it up online. Mine was folded without intention of finishing it so I won't put the full model here. Anyway, if the eye is stretched up, it looks like this from the side.

So what if this is done on a thinner and narrower flap? I'd imagine it will look like DNA strand (the double helix) and it's going to look cool for markhor's horn. I tried that and it looks promising. Just need to make it more upright and it would be epic.
 |
| Folded on corner flap. The base has around 6 layers of paper. The twist forms naturally from the wedged pleats. |
In order to take this wedged pleats, the horns have to be as thin as possible. So obviously they have to be put in the corners, which means I need book symmetry. Book symmetry goat... it reminds me of my ibex. I could start with this layout that long ago was planned for ibex:

Ibex doesn't have chest hair, but markhor does. So the thick middle flap can be used for that. The thick tail can be made thinner by spreading the excess paper to hind limbs. The hind limbs will be thick but that is okay. Perhaps it can counterbalance the heavy head and this time the model can stand without support.
I drew the crease pattern on Orihime and readjusted it. This time the ears are put on top, sandwiching the head flap. Here are the candidates:
 |
| The 22.5 crease lines are there to level shift. |
Looks quite decent so I gave it a shot for test fold with printer paper. I folded the first one, without narrowing the horns.
 |
| The thick paper protruding under the head flap is supposedly used for mane. |
There are some uncomfortable aspects on this test fold. Firstly the neck (excluding the mane) is narrow and thick. It doesn't feel right for animal known to head butt each other. Second, the mane is difficult to pull apart and shaped. Might be my skill issue, don't know. I spent time altering the middle flap positions to the point my test fold tore but still no success.
Later the day I thought of reusing the layout of my ibex. This time I can put the horns to be in the corner and fill the neck part with pleats. The hind limbs will be folded from corner flap and they will unlikely be able to support the heavy head (again), but screw it. Some famous models like Nazgul also can't support themselves without stiffening the legs.
 |
| Left shows the basic structure. Right is flat foldable and showing the flap distribution. Notice the wide river separating between top and middle flaps. |
This will create a very long neck, but the idea is maybe it can be crimped again and again to form mane while shortening it. When I drew the crease pattern on Orihime, I got an idea of using Y molecules instead of series of pleats. This caused the design to move away from boxpleated to 22.5.
 |
| Origami god: "How many bird bases do you want in your design?" Me: "Yes" |
I test folded it with small foil paper and it looks promising. My free folding results in series of reverse folds on the neck instead of crimps. The accumulated paper can be spread to form mane. There is also unexpected bonus that the horns can take arbitrary amount of sink in and out without messing with neck or other parts. No level shifting is needed.

 |
| Light blue lines on top left shows how to make the horns narrower without affecting neck other parts (except the ears). |
The hind legs are quite short. It wasn't the case on ibex because I made it in standing on hind limbs position. The half bird bases for legs can be substituted with fish bases, making the legs longer, however the small flap used for tail will be lost. Just reminder that the flap in bottom middle is not used for tail, but it is folded forward to make belly.
 |
| The bottom flaps are formed from sunken fish base. |
I took my test fold and play around. There is a way to give more volume on the belly without using extra flap. The lower portion of the forelegs bird base can be unsunk. Now the bottom middle flap can be repurposed for tail.
 |
| Notice the appearance of belly. It doesn't look much, but makes a difference on the actual fold. |
This is looking great and I made another test fold with larger foil. The strategy to spread paper to make mane is successful.

The other body parts also look good. The hind limbs are too long, but it's no big deal and I will just reverse fold the tip to shorten it. The long flap for head is folded in half, shortening it and exposing some paper in the face that can be used for making eyes.
 |
| Eyes were just a mush on this picture. |
Honestly the mane wasn't folded neatly and the horns are still wide. The test fold divided the horn area into 3 parts and then sunk, so maybe I can try to divide it into 4 next time. The next test fold looks much more promising.
 |
| The proper eyes (not final). I tried to express the mane as if it is a lion. |
In that test fold, I tried the wedged pleats to make twisted horn. I think it works well, and this model is ready for final fold. The final crease pattern is what was shown on top of this post.

Fold
Unlike ibex, there are no absurdly thick horns to crimp. So using smaller paper is possible, up to 30 cm in size. In the end the paper used was a 41 cm double tissue, with "Spritz" brand tissue. They got grey color but their largest size is only around 41 cm.

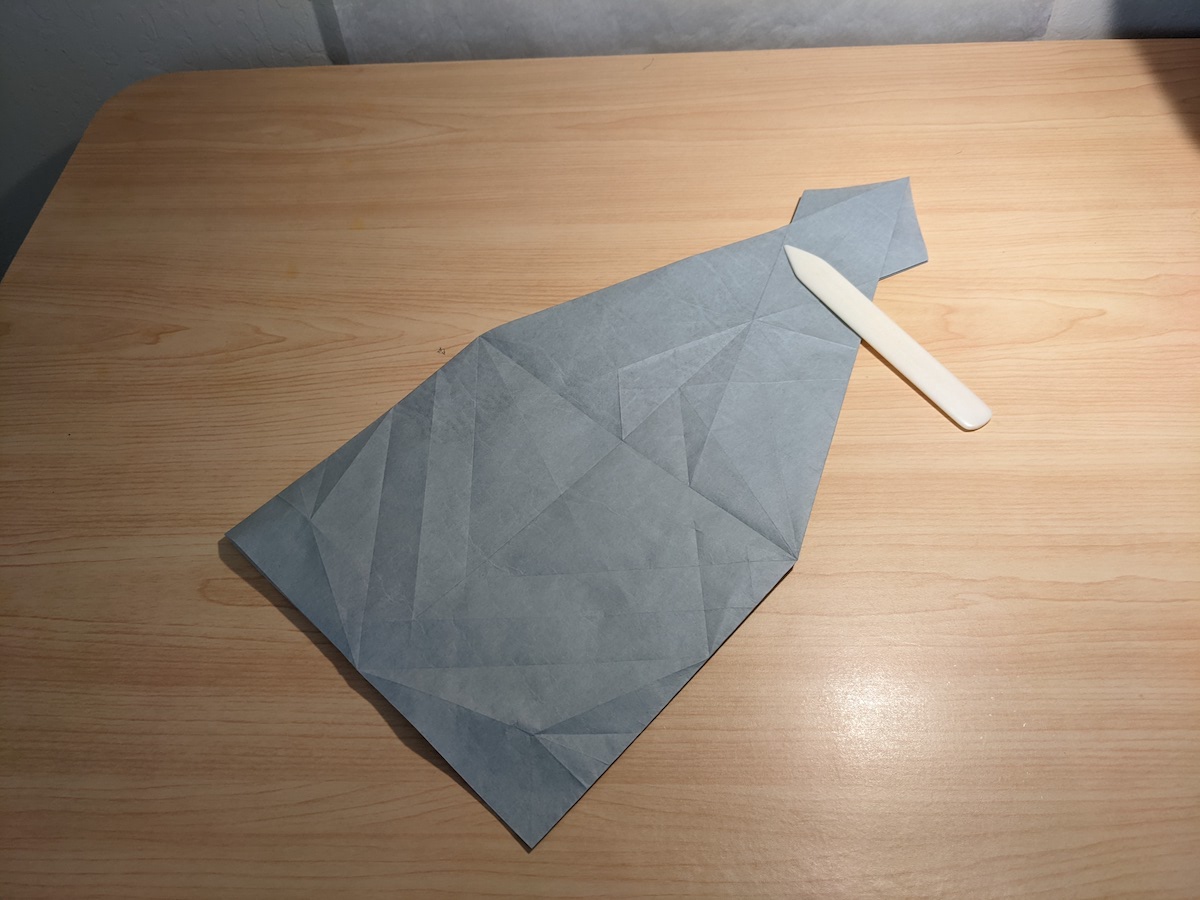

 |
| Originally this paper is made for babirusa, but the white part is barely distinguishable from the grey part. |

I was extra careful when folding the hind legs to not accidentally introduce extra crease that forms because of thickness difference. You know, it's something like pressing a paper across two areas with slightly different elevation, and a crease is formed on the elevation change. It has happened to me numerous times and I absolutely hate it.


So this time I inserted a thick carton on the area risks of this happening. This carton is cut along the folding process to match the shape. It is discarded once the folding process is completed.

 |
Everything goes well until the horn part. The wedged pleats are essentially gone after I loosen up the paper. Earlier the horns were made narrower with more sinks, and unfortunately that caused the flap to become thicker. Beside that, no matter how excellent double tissue's crease memory is, it is no match against foil. So good bye horn twist, I'll just go with corkscrew horn. At least it is much simpler to do, just curl it against chopstick or small cylindrical object.
The model can support itself because the hind legs have more paper allocation, hence thicker. The front part is still too heavy, so it needs to be counterbalanced. Inserting coin on the belly from the open back fixes the problem.

I improvised the eyes in the end because it didn't feel right. Luckily I was able to get square eyes with horizontal seam. Goats have horizontal pupils (like minus sign) so it was neat.
Remarks
Upon closer look, this model is pretty simple and straightforward. Yet it is a decently good model and I got exceedingly positive response. It was put in hall of fame channel in Origami Dan. Never thought this day would come.

Update 2022-11-20
Seeing many people got to fold this model, I would like to share two tips on folding it.
1. Eye shaping
Here is how to get the eyes with horizontal pupil. Starting from the base.

2. Head to body connection
After folding the more shaped base, you would notice:
- There is a gap between shoulder and head.
- There are three independent layers that form the beard, on each side.
 |
| Beard layers and gap shown. |
This gap can be closed by valley folding the 1st beard layer up. Here's how mine looks like.

Comments
Post a Comment