


Bowhead whale is a filter feeding whale which uses its baleen to feed.
Some of its subpopulation was nearly decimated during commercial whaling from the 17th to 20th century. They were critically endangered but the population has been slowly recovering.
The crease pattern asymmetry arises from the realization that just one flap is needed to make the lower jaw.
Some say the base looks like amogus. It was just coincidence.
Design
The whale looks like this.
 |
| Source: Encyclopedia Britannica |
They are pretty simple. No other fins apart from pectoral and caudal. The most important feature is the head and mouth. There has to be curve in the jaws, and a contrast-colored baleen would be nice. I chose to omit the white patch and black dots in the lower jaw because folding them would make the lower jaw thicker. Besides, the seams might be detrimental to overall cleanliness.
I drafted an idea to create base like this:

This will be a closed back model. The lower jaw will use two separate flaps that meet when the model is folded in half.
Creating flippers should be easy. Something like fish base with point split on the longer flap should do the work. So I started to work on the head.
What basic structure that I can use for making 3 flaps? Pig base might be a good candidate. It is book symmetry which is great if the model needs long flaps on the sides. However this creature only has 2 somewhat short flippers so many paper on the sides might ended up wasted. I thought using diagonal symmetry would be better, and that's why I started with bird base.
As usual I did some free folding. The upper jaw would be made from bird base's short flap. One of the long flap will be color changed using point-split-like fold to make baleen. Then two long flaps on the sides will form lower jaw. The unused flap will be extended to make body. I tried to find a way so the baleen can be pleated but didn't have any success. In the final fold I'll just crease them.

 |
| The crease pattern progression, starting from a sunken bird base. Middle and bottom is the same, just folding up the jaw flaps. The baleen flap can be swung up once the model is folded in half. |
I spent another time refining it. The curve on upper jaw can be represented by curved mountain fold and the model will not lie flat. This means the lower half of the bird base should no longer be sunken. The curve on lower jaw is simpler, just fold in the edges. At this point I realized I don't need to use two flaps for the lower jaw, just use one. This wasn't the case for model like Komatsu's hippopotamus or my babirusa because there are other features on the lower jaw, such as teeth or tusks. These additional feature needs more paper. The flap that used to be for lower jaw can be repurposed into pectoral fin.
 |
| Curved upper jaw and lower jaw. One pectoral fin was made from other jaw flap that is no longer used. |
 |
| The updated plan for base. |
The head looks okay. Next is body. Easiest solution is to do border graft. The extra paper on lower jaw flap is useful because that adds more paper and now I can make the lower jaw 3 dimensional. For the pectoral fin flap, the extra paper is useful because now I can fork it into two. How big should the border graft be? Not sure, so I made it touching the bird base's corner.
 |
| Border graft added. The two circles show the pectoral fin placement. |
Last part is caudal fin, or tail. A simple point split should suffice but I can't shape it nicely. I started free folding again and somehow found a good way. A square structure is created and I can fold a Y molecule there to make forked tail.
 |
| With body. |
The final model is pretty simple.
Fold
The final fold uses triple tissue, black-white-white. Not only this is to allow better color separation, but also because thicker paper would be nice to hold the crease on curved jaw.
My test folds were made using 17.5 cm foil, and the final size is around 10 cm. So if I start with 25 cm, the final model will be around 14.2 cm. Seems like an ideal size.

 |
| The 2nd crease below the bone folder was mistake :") |
 |
| The base. The baleen scores are made during precreasing. I made sure to crease them firmly with bone folder. |
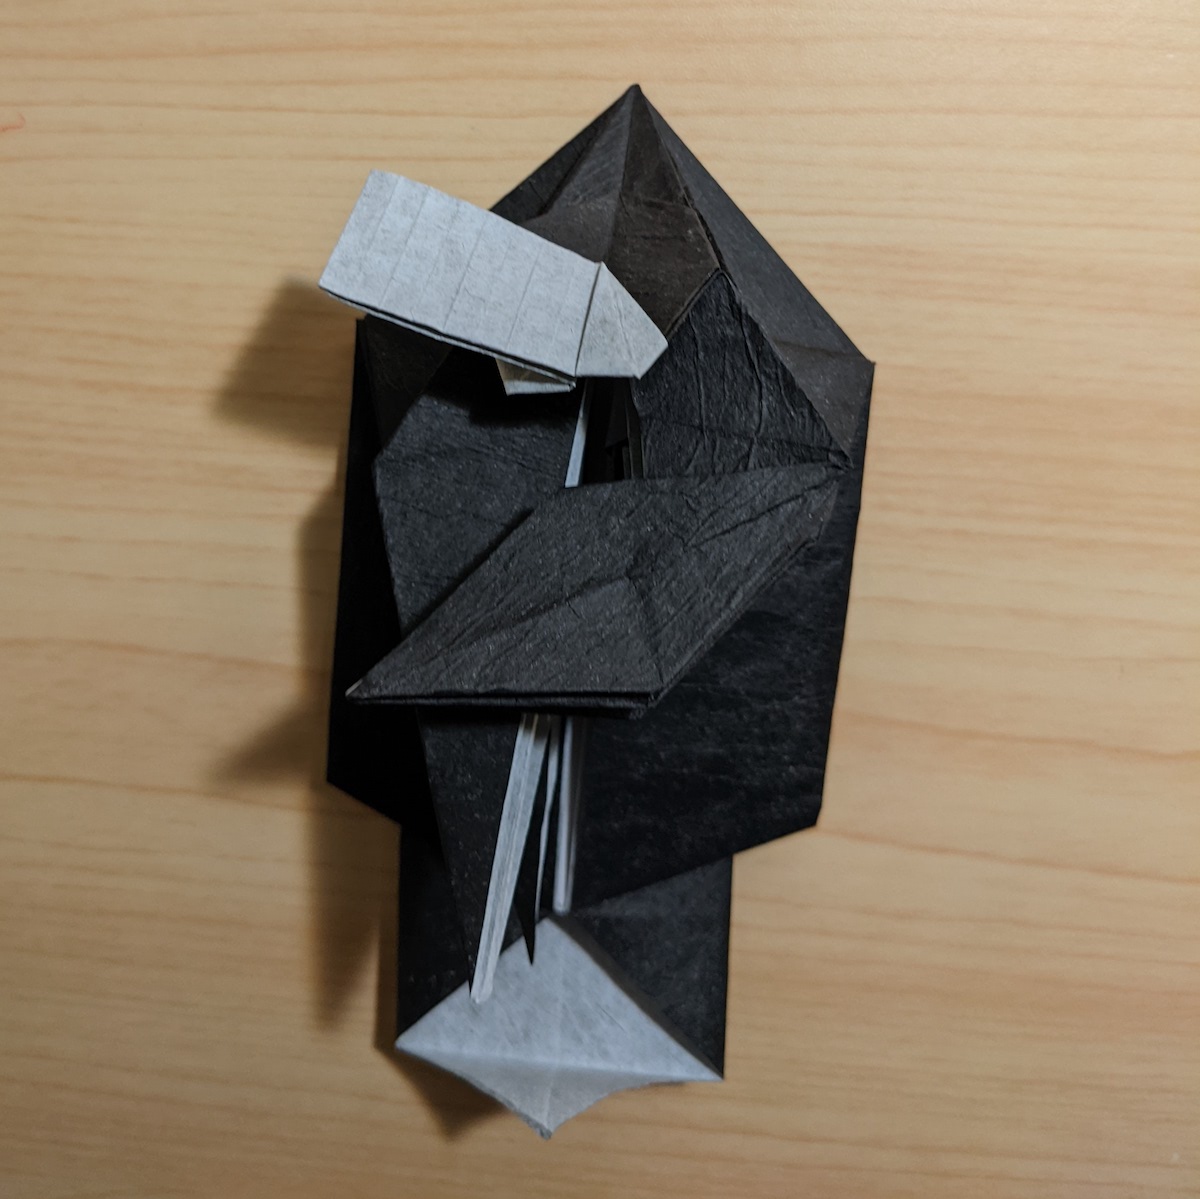
 |
| Showing the internal flap distribution. Left is for pectoral fins, and right is for lower jaw. |
Comments
Post a Comment